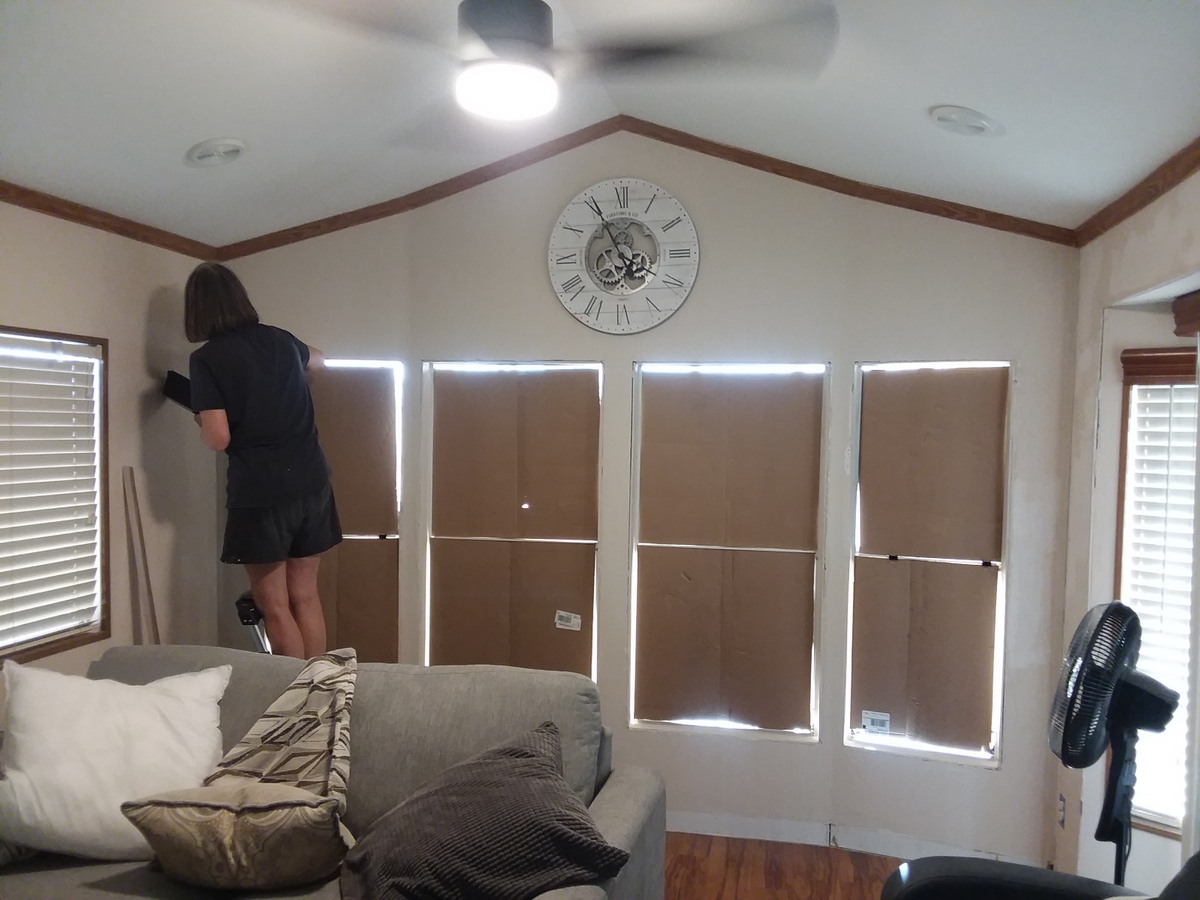
Back in Mesa, we started demolition with a passion. Joani's vision included the removal of all of the cabinets and drawers in the bedroom. It was fortunate the walls were complete behind the cabinets. They needed a fair amount of patching after 25 years of curtain rods and picture hanging and accidental bangs and scrapes - that was to be expected. The real effort was to replace all of the joint trim with new corner beads and drywall spackle. That's some messy work - every corner, every joint between wall panels, and around every window.
We started with two, 3.5-quart buckets of premixed joint compound. After returning for more several times (a total of 7 small buckets) we broke down and opted for the large, 4.5-gallon bucket. Before we were finished we used three of the large buckets. I believe 50 percent of that was turned into dust that had to be vacuumed up later. I have to admit it looked a lot more finished with smooth joints.
Even the closet had to go. If you know anything about Joani, it is that she does not appreciate a lot of mirrors around - especially huge mirrored sliding closet doors. The drawers below were nice but half of the volume below the closet was just unused empty space. The mirrored doors were in perfect condition but the thrift store would not take them. I thought I might have to smash them up to get rid of them. Fortunately, someone in the park had two cracked mirrors and was happy to take them away. The bedroom cabinets found a new home in another neighbor's shed.
Ready for a closet re-design.
As soon as the cabinets were removed, we opened up the door between the bedroom and the bath. The pocket door had been screwed to the door frame and covered with drywall. The intersection of differing wall thicknesses required some thought to make it all look good when we were finished.
Once the rubble was cleared I had to bury exposed wiring that powered an outdoor outlet and light. While I was at it I also installed new outlets for the bedroom TV. I don't know why but it seemed everything was more difficult than I imagined it would be. Odd spacing of wall studs with some being 2x4's and some being 2x3's just made relocating and adding additional outlets a challenge.
The under-cabinet reading lamps were being replaced with some wall sconces. I moved the light switch from its original location to a new position with the wiring completely intact. Then I realized I was going to replace this switch with a dimmer so all of the careful relocation efforts were wasted.
Time for new closet walls. Thanks to our neighbor, Roger, I had the use of a nice 12-inch miter saw so angles were no problem. Pocket screws and anchor bolts made everything secure.
It was so nice having the huge porch (8'x35') for additional workspace.
A nice solid header provided support for the barn door hardware later. I decided to wire in lights in the closets using the fixtures we replaced in the kitchen.
Never one to squander the opportunity for a new tool, I felt justified in getting the Ryobi electric nail gun. Joani liked using it as much as I did.
As we neared the end of September we were feeling a tug at the old heartstrings. Our granddaughter would be turning one without us around. The kids sent us some pictures to share the celebration.
This is my favorite. I have it as my laptop background. It puts a big smile on my face every time I turn on my computer!
A big "Oops" on my part realizing after the wall was complete, I had nothing to support the hardware for the bathroom barn door.
Ok, I had just finished all the mudding on this wall, but it had to be done.
David added the 2x4s and I had it patched and sanded by the end of the day.
The crown molding was where Roger's miter saw really came in handy. Managing all of the angles had me anxious but Joani showed me a YouTube video that made it, if not easy, at least doable. She then covered all of my poor joints with caulk and paint to make it look good.
A non-standard bath vanity was difficult to find - hooray for Wayfair! It was smaller than the old one so the ductwork required some modification. Yet another tool to add to my collection.
A smaller vanity meant the register that was beneath it had to be pushed back. Did David say, "It can't be done," no, he said, "how far?"
Before the new floor could be installed we had to level the transition where the pocket door/wall had been removed. Joani knocked it out quickly with just one quart of leveling compound.
Joani found a cabinet that fits perfectly between wall studs except for the extra stud and switch box as you can see below. The stud was easily removed (it was non-structural) but the electrical box required some creative modification to the cabinet.

The space behind the bathroom door was screaming to be useful! The space between studs was 11.5" and a shallow Ikea cabinet was 11.5" wide. Meant to be!
The demolition continued into the hall and finally took over the kitchen and living room. Joani had mastered the art of drywall finishing and there was no stopping her.
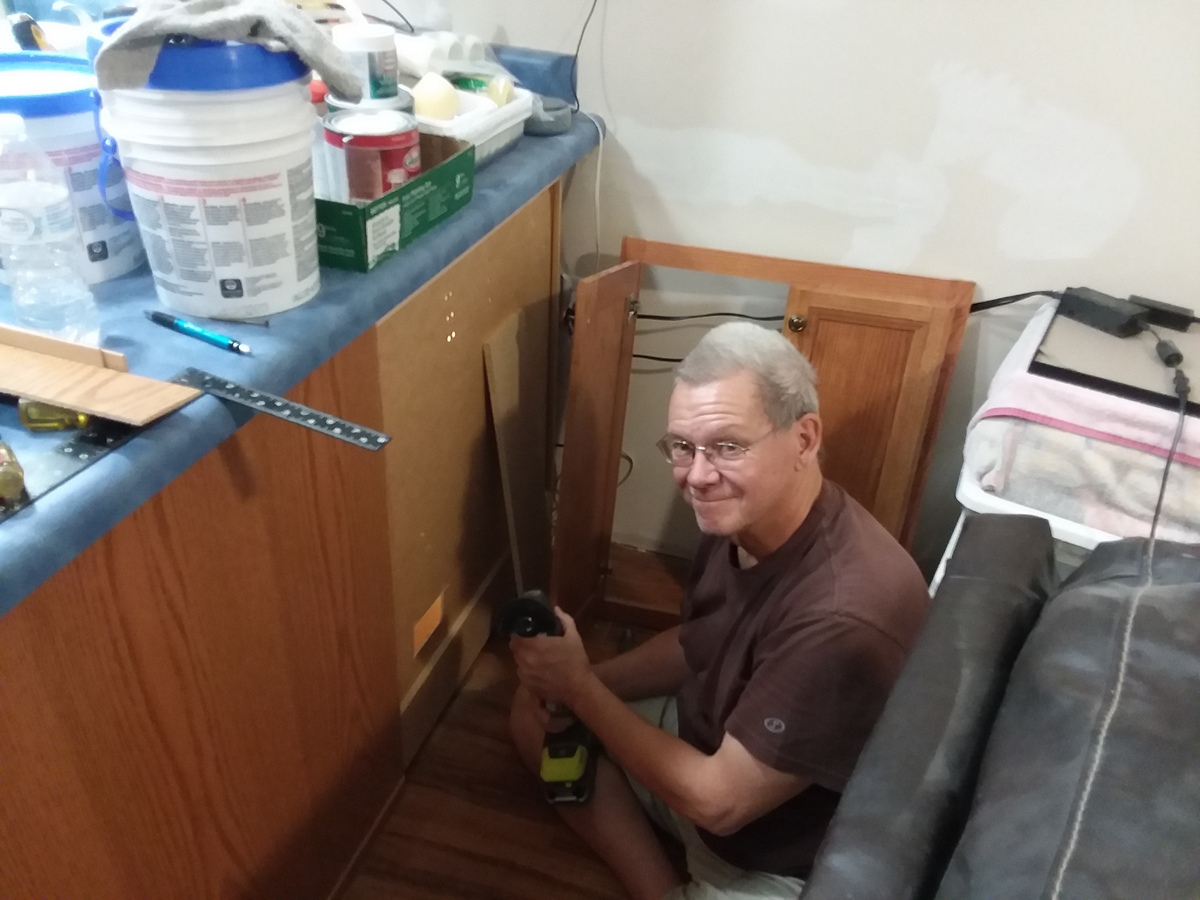
After the cabinets had been removed from the living room (and relocated to the workshop) there was still some work to be done. I used the doors and frame from one of the cabinets to provide access to the space next to the kitchen sink. I just needed to cut a hole - oh yeah, that needed a new tool as well.
With the doors in place, I just need a few small pieces of paneling to complete the corner.
We found the range hood vent was really just a very efficient heat pipe bringing the 160-degree roof heat into the kitchen cabinet. It felt like opening an oven when the cabinet was opened. I removed the vent pipe, filled it in with insulation, and patched the ceiling.
The microwave had three venting options and out the roof made the least sense in Arizona. The heat coming down the pipe made the microwave hot to the touch.
Three of the four domed light fixtures in the kitchen and hall were replaced with brighter LED fixtures that more closely matched the lighting on the ceiling fans.
The trick was getting ceiling paint to match the 25-year-old paint to make the patch disappear.
Joani ordered lamp parts online to create a custom fixture over the kitchen sink that used a vintage schoolhouse globe her grandfather gave her years ago. It is the only tribute to antiques you are likely to find in the house.
With the walls finished and painted and the trim finished (except for the baseboard molding) it was time to install the new floor. We found something that looked perfect and it was on sale - how often does that happen? The boards interlocked and were easily cut using a knife. It was really like crafting a puzzle, piece by piece, to fit around all of the obstacles in the house.
Constantly rearranging things to move them out of the way added significantly to the job. We had no deadline so we paced ourselves and finished in a little more than three days.
The countertop and cabinets are fairly new and the doors are oak, but the colors are not what I would like, but that will have to wait for another year.
Once the flooring was down we could start installing baseboards and placing furniture.
The lift-and-store bed frame that had been in pieces leaning against the wall for so long could finally be assembled. It really filled the bedroom
To most, this would feel cramped, but when you are used to the RV bedroom this is luxuriously spacious!
The living room felt more open and Joani's choice of colors was perfect, as usual.
The window on the left will be filled with insulation and completely covered with bookshelves so I didn't bother removing its trim.
The bath makeover was complete with a new commode, vanity, mirror, and lighting.
Final touches included a mattress for the bed, lighting, doors, and hardware - I think we are ready for company!